How to Choose Backsplash Tile for Your Kitchen Without Getting Overwhelmed
If you’re wondering how to choose backsplash tile for kitchen remodels, start with this simple plan: match the tile to your fixed finishes (countertops and cabinets), pick a material that fits how you cook and clean, then lock size, pattern, height, grout, and trim. Follow the steps below and you’ll make a confident choice—without decision fatigue.
At-a-Glance Checklist (screenshot this)
- Style + function: how you use the kitchen
- Budget: material, labor, trims
- Material:
kitchen backsplash materials pros and cons
- Size & pattern: scale, layout, cuts
- Color & finish: undertones, sheen
- Height & coverage: standard vs. full-height
- Grout & trim: color, joint width, metal edge profile
- Maintenance: sealing, cleaning plan
- Install: DIY or pro, timeline
Start with Style & Function
Begin with what won’t change soon: your countertops, cabinets, flooring, and appliances. Your backsplash should support these, not fight them.
- Cooking style: If you sear, fry, or cook often, pick smoother, less-porous surfaces that wipe clean.
- Kitchen style: Modern, classic, farmhouse, or transitional—choose tile that matches the vibe.
- Light & space: Busy patterns can overwhelm small rooms; subtle textures add interest in large, bright spaces.
Quick rule: Put your countertop sample against 3–5 tile options. The tile that makes the counter look richer—without clashing—moves on.
Set a Realistic Budget & Timeline
Backsplash cost has three parts: material, labor, and finishing pieces (trim, edge profiles, caulk, sealer).
- Save: Use a budget-friendly field tile and splurge on a
feature panel behind the range.
- Plan: Confirm lead times for special tiles (zellige, handmade, large-format porcelain). Order
10–15% overage for cuts and future repairs.
- Schedule: Get on the installer’s calendar early—especially if you’re coordinating with countertop templating.
Choose the Right Material (Pros & Cons)
This is where function meets style. Here’s a quick guide:
- Ceramic tile
Pros: Affordable, many colors/sizes, easy to clean.
Cons: Chips can show on low-quality glazes. - Porcelain tile
Pros: Dense, durable, stain-resistant; great for heat zones.
Cons: Heavier; may require a strong substrate and quality saw blades. - Glass tile
Pros: Reflects light, brightens small kitchens, bold colors.
Cons: Shows imperfections behind; needs a smooth, uniform backer. - Natural stone (marble, limestone, slate)
Pros: Classic, luxe variation and veining.
Cons: Porous; needs sealing and gentle cleaners; can etch. - Quartz slab / large-format porcelain (slab “countersplash”)
Pros: Minimal grout, sleek, easy to wipe; dramatic look to the ceiling.
Cons: Higher material and fabrication costs; heavy. - Metal or stainless steel
Pros: Ultra-durable, chef-kitchen energy.
Cons: Can scratch; shows fingerprints.
- Brick, mirrored, or specialty (e.g., zellige)
Pros: Unique character and texture.
Cons: Variation and maintenance can be higher; plan for sealing and skilled install.
Size, Shape & Scale
Tile size should fit your space and minimize awkward cuts.
- Subway tile (3"x6" or variations): Timeless and flexible.
- Mosaics on sheets: Great for curves, niches, and easy alignment.
- Large-format tiles or slabs: Fewer joints, modern look, faster cleaning.
- Consider outlets & shelves: Align courses to avoid thin slivers at the counter or upper cabinets. The common counter-to-cabinet height is about
18 inches, so plan your course heights accordingly.
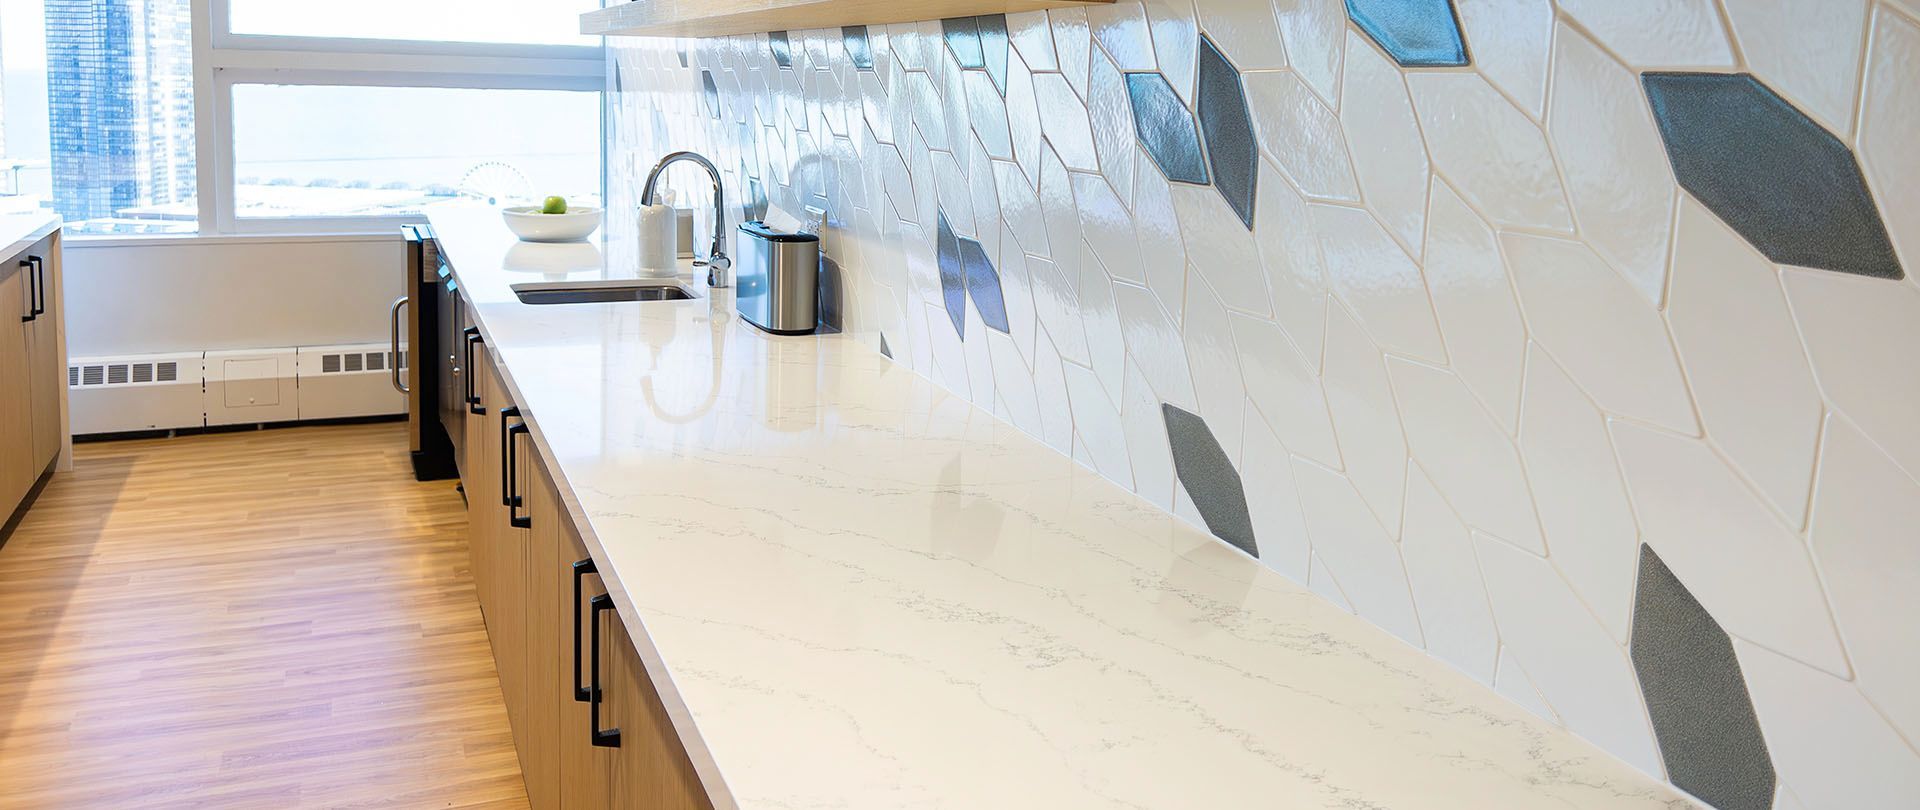
Color, Finish & Visual Harmony
- Undertones: Place tile next to your countertop and cabinet samples. Look for warm vs. cool undertones that blend, not fight.
- Finish:
Glossy bounces light and wipes easily;
matte hides smudges;
textured or handmade adds depth but needs more careful cleaning.
- Movement: If your countertop is busy (veins or speckles), choose a calmer tile. If your counter is quiet, you can go bolder on the wall.
Pro tip: Tape 6–8 tiles on the wall and view them day and night before you buy.
Layout & Pattern Decisions
These backsplash tile layout patterns set the mood:
- Running bond (offset) or stacked (horizontal/vertical) for classic or modern lines
- Herringbone or chevron for energy and a focal moment
- Basketweave or checkerboard for vintage charm
- Accent zones: A framed panel behind the range, a change of pattern above the sink, or a vertical stack under open shelves
- Range hood tile wrap: Seamless look for statement hoods
Sketch it or dry-lay a small section so you can picture grout lines and cuts.
Height & Coverage
- Standard: Countertop to underside of cabinets.
- Full-height: To the ceiling or to the bottom of the hood for a high-end, seamless feel.
- Window walls & open shelves: Carry tile to the casing or all the way around for a finished edge.
- Edge terminations: Use bullnose, pencil trim, or a
metal edge profile (like Schluter) for clean, safe edges.
Grout & Finishing Details
Grout is half the look and all the cleanability.
- Joint width: Tighter joints feel modern; wider joints feel traditional.
- Color: Match to blend, contrast to outline the pattern.
- Type: Sanded/unsanded based on joint width;
epoxy grout resists stains and is great behind ranges.
- Seal where needed: Stone tile and some grouts benefit from sealing.
- Caulk changes of plane: Use color-matched caulk at the counter and inside corners.
Maintenance & Durability
Keep the beauty you paid for:
- Daily care: Soft cloth and pH-neutral cleaner.
- Stone: Follow a
sealing schedule; wipe spills quickly to avoid etching.
- Glass/metal: Use microfiber; avoid abrasive pads.
- Grout: Epoxy = lowest maintenance; cementitious = seal as needed.
Installation: DIY or Pro?
- DIY if: Flat walls, simple layout, ceramic or porcelain, and you’re patient with measuring and cuts.
- Hire a pro if: You’re using natural stone, large-format tile, intricate patterns, or full-height slab.
- Quality checks: Level starting line, consistent joints, aligned outlets/switches, clean cuts at windows and corners.
Common Mistakes to Avoid
- Picking tile before countertops and cabinets
- Ignoring
undertones and lighting
- Forgetting
grout color and
trim in the budget
- Skipping
samples and a small
mockup
- Not ordering enough material (always include overage)
Before You Buy: Samples & Mockups
- Order 3–5 finalists.
- Tape them up for a week; view in morning, afternoon, and evening light.
- Dry-lay a small area to preview grout spacing and cuts.
- Confirm final
quantity, trims, and edge pieces before placing the order.
Quick Decision Framework (Tie-It-All-Together)
- Palette first: Counter/cabinet → then tile material.
- Size & pattern: Choose scale that fits the space and outlets.
- Height & focal areas: Standard or full-height; decide on any framed features.
- Grout & trim: Set joint width, color, and edge profile.
- Reality check: Maintenance, budget, and lead time.
Call to Action
Ready to pick a backsplash you’ll love for years? Hartford Building Co makes it easy—from samples to installation. Request a design consult and estimate for your kitchen in Greater Hartford and Glastonbury.
Call
(860) 922-0179 or email
hartfordbuildingco@gmail.com.
FAQ's
About Backsplash Tile for Your Kitchen
Should the backsplash match the countertop or the cabinets?
Neither has to “match,” but the undertones should agree. If the counter is busy, use a calmer tile; if the counter is quiet, add interest on the wall.
What’s the easiest backsplash to clean behind a range?
Porcelain or quartz slab/large-format with minimal grout. Epoxy grout helps anywhere you splatter.
Can I mix patterns without it feeling busy?
Yes—keep one surface quiet. For example, pair a bold herringbone feature behind the range with simple stacked field tile elsewhere.
Recent Blog post